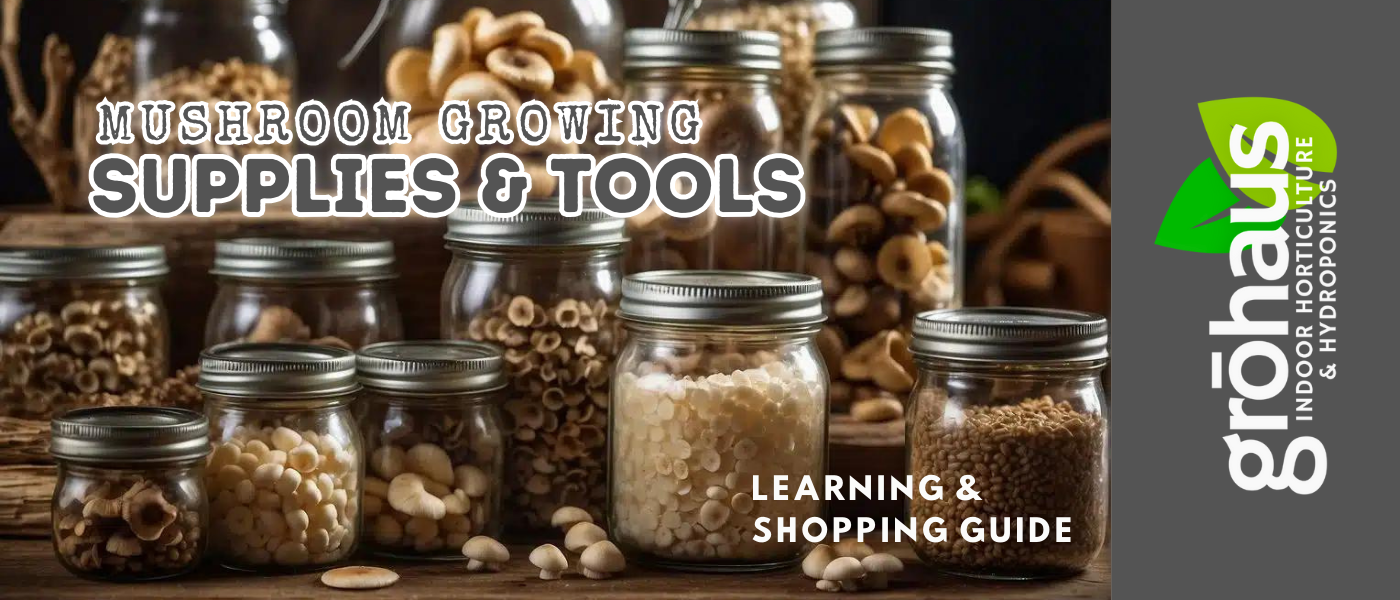
Mushroom Growing Supplies & Tools:
Complete Equipment Guide
Every tool and supply explained with purchasing guidance — essential equipment checklist, still air box build, laminar flow hood vs. SAB comparison, PP grow bags, humidity controllers, 70% vs. 90% IPA, HEPA filtration, container reuse by material type, and harvest tools.
Essential Equipment Checklist
What equipment and supplies do I need to start growing mushrooms at home?
| Item | Required For | Priority | Approx. Cost |
|---|---|---|---|
| Digital hygrometer/thermometer combo | All grows | Non-negotiable | $10–20 |
| Mushroom spawn or cultures | All grows | Non-negotiable | $10–30 |
| Substrate material | All grows | Non-negotiable | $5–30 |
| Spray bottle or pump sprayer | All fruiting | Essential | $5–15 |
| 70% isopropyl alcohol | All inoculation work | Essential | $3–8 |
| Nitrile gloves + face mask | All inoculation work | Essential | $10–15 |
| Still air box (SAB) | Grain jar inoculation | Strongly recommended | $15–20 |
| Pressure cooker (15 PSI rated) | Grain spawn, supplemented sawdust | Required for grain work | $60–150 |
| PP grow bags with filter patches | Grain spawn, substrate bags | Required for bag grows | $20–40/50-pack |
| Ultrasonic humidifier + controller | Martha tent fruiting | Required for Martha tent | $50–100 |
| Fruiting chamber (SGFC, monotub, or Martha tent) | All fruiting | Essential | $10–300 |
A ready-to-fruit oyster mushroom grow kit requires no equipment beyond a spray bottle and a space to keep it. This is the correct first step before investing in a pressure cooker, grain jars, or a Martha tent setup. Grow one or two kits first — you'll understand the fruiting process, contamination, and harvest timing before committing to a full equipment build-out.
Still Air Box (SAB) — Build & Use
What is a still air box and how do I build and use one?
Build Instructions
- 1Get a large clear plastic storage tote — 66–116 qt. Clear sides let you see what you're doing. Deeper totes give more clearance for manipulating quart jars.
- 2Cut two arm holes approximately 5 inches in diameter in one short end at a height comfortable for your arms when the tote sits on a table. Space holes 6–8 inches apart.
- 3Wipe the interior with 70% IPA before each use session and allow to dry completely.
How to Use the SAB
- 1Load all supplies inside before starting: sterilized grain jars, syringe, alcohol wipes, spare needle caps. Have everything inside before you begin — opening the box repeatedly defeats its purpose.
- 2Spray 70% IPA into the air inside the box and wait 5–10 minutes for air to settle and contamination particles to drop out of suspension.
- 3Work slowly and deliberately. Your arms moving in create air currents — slow, smooth movements minimize disturbance. Face away from the arm holes when breathing. Don't talk or cough toward the work area.
- 4Flame-sterilize your needle between each jar, allow to cool 10–15 seconds, then inoculate the next jar. Recap immediately after each inoculation.

Laminar Flow Hood vs. Still Air Box
What is a laminar flow hood and do I need one?
What HEPA Filtration Actually Does
HEPA (High Efficiency Particulate Air) filters remove particles ≥0.3 microns from air passing through them — this includes fungal spores (3–30 microns), most bacteria (0.5–5 microns), and particulate contamination. A laminar flow hood pushes a continuous stream of HEPA-filtered air from the back of the unit toward the front, creating a curtain of particle-free air over the work surface. Any particle approaching from the room environment gets pushed away before reaching open substrates or cultures. This is why commercial spawn producers and mycology labs use flow hoods — near-zero contamination is achievable.
SAB vs. Flow Hood Decision Guide
| Factor | Still Air Box (SAB) | Laminar Flow Hood |
|---|---|---|
| Cost | $15–20 | $400–1,200 |
| Contamination reduction | Significant (particles settle in dead air) | Near-complete (HEPA-filtered air continuously) |
| Typical success rate | 70–80% for grain jars with good technique | 95%+ with good technique |
| Volume per session | Limited by arm reach — 10–20 jars | No practical limit |
| Learning curve | Low — build and use immediately | Low to operate; higher investment decision |
| Best for | Beginners, hobby growers, low-volume production | Serious home cultivators, consistent production, agar work |
If you've mastered SAB technique and are still seeing 25–30%+ contamination rates, or if you regularly produce 30+ grain jars per session, a laminar flow hood becomes a worthwhile investment. Most cultivators who make the upgrade report it as transformative — the workflow becomes faster and less stressful when you're not fighting contamination on every batch. A horizontal HEPA flow hood in the 2-foot width range is the standard home cultivation setup.
Polypropylene Grow Bags — What to Buy
What polypropylene bags should I buy for sterilizing substrate and grain?
PP vs. Other Plastics — Why It Matters
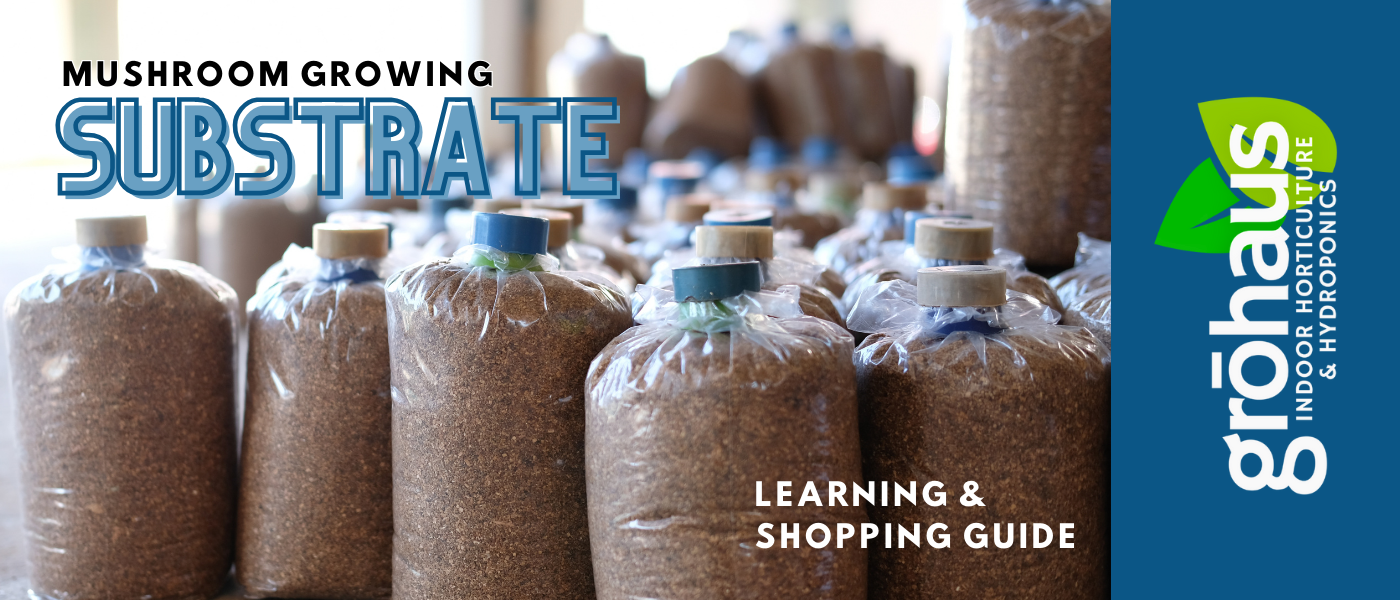
Polypropylene (PP, plastic resin code #5) has a melting point of 130–171°C (266–340°F), well above pressure cooker temperatures (121°C / 250°F). Standard household plastic bags are HDPE (#2) or LDPE (#4), which soften and deform at pressure cooker temperatures, potentially contaminating your substrate and failing to maintain a seal. Look for "autoclave bags," "mushroom grow bags," or bags explicitly rated for pressure cooker use — these will always be polypropylene.
Key Specs for Mushroom Grow Bags
| Spec | What to Look For | Why It Matters |
|---|---|---|
| Material | Polypropylene (PP) — explicitly stated | Must survive pressure cooker temperatures; HDPE/LDPE will melt |
| Thickness | 5–6 mil minimum | Thinner bags tear easily during filling and handling; thicker is more durable |
| Filter patch size | 0.2–0.5 micron | Allows CO₂/O₂ exchange during colonization while filtering contaminant spores; larger micron = less filtration |
| Opening style | Wide mouth (4–6 inch) with heat seal or fold closure | Narrow openings make filling difficult and increase contamination exposure during loading |
| Bottom style | Gusseted base preferred | Stands upright when loaded; unstable bags tip and redistribute substrate during sterilization |
Can I Reuse PP Grow Bags?
- PP autoclave bags can be reused 3–5 times if they survive the sterilization intact; inspect each bag for pinhole punctures by holding up to light before reuse
- Any bag with a visible hole, cloudy opacity change, or deformation should be discarded — compromised bags cannot maintain a proper seal or survive additional pressure cooking
- Standard HDPE or LDPE plastic bags: one-time use only — they deform under pressure cooker heat and cannot be reliably reused
- Glass mason jars: indefinitely reusable with proper cleaning and lid inspection between uses
Sterilization & Pasteurization — Methods & Alternatives
Do I need a pressure cooker, or are there alternatives for sterilizing and pasteurizing substrate?
Pressure Cooker vs. Pressure Canner — Critical Distinction
Many beginners buy a pressure canner thinking it's equivalent to a pressure cooker. It is not. Pressure canners are rated for 10–11 PSI (USDA canning standards) and cannot consistently reach the 15 PSI required for mushroom substrate sterilization. A pressure cooker rated for 15 PSI is the correct tool. Most stovetop pressure cookers (All American, Presto, T-fal) are rated for 15 PSI. Verify PSI rating before purchasing — this is the most common equipment mistake in beginner mushroom cultivation.
Pasteurization Methods — No Pressure Cooker Required
| Method | Temp / Conditions | Duration | Works For | Equipment |
|---|---|---|---|---|
| Hot water bath | 160–185°F (71–85°C) | 1–2 hours | Straw, CVG components, cardboard | Large stockpot + thermometer |
| Hot water bucket | Starting at ~212°F, cools slowly | 3–4 hours covered | Small straw batches | Bucket + tight lid |
| Cold water lime | pH 12+ room temperature | 12–18 hour soak | Straw only | Bucket + hydrated lime + water |
| Boiling water pour (CVG) | 212°F initial | Covered, cool to room temp | CVG (coco + vermiculite + gypsum) only | Container + boiling water |
Never apply bleach or bleach solution to substrate you intend to colonize. Bleach is a surface sanitizer for equipment, work areas, and tools — not a substrate treatment. Residual chlorine in treated substrate kills mushroom mycelium on contact. Use bleach only on surfaces and tools, then rinse thoroughly before they contact any substrate. Hydrated lime (calcium hydroxide) is the correct high-pH chemical treatment for straw pasteurization — it dissipates naturally after draining and neutralizes to a mushroom-friendly pH as the straw air-dries.
Humidity Control Tools
What type of misting or humidification tool do I need, and when is a humidity controller worth it?
Tool Selection by Setup Type
| Setup | Best Tool | Why |
|---|---|---|
| Single monotub or SGFC | Manual pump sprayer (1–2 liter) | Small volume; 2–3 daily mistings adequate; no automation needed; total cost $5–15 |
| Small fruiting dome or kit | Trigger spray bottle is sufficient | Minimal volume; mist walls and perlite 3–4x daily; simple and inexpensive |
| Martha tent (multi-block) | Ultrasonic humidifier + Inkbird IHC-200 controller | Manual misting 20+ blocks is impractical; automated controller maintains 85–95% RH without daily intervention |
| Dedicated fruiting room | Ultrasonic or impeller humidifier + controller + fan on separate timer | Room-scale RH management; controller manages both humidifier (lower set point) and exhaust fan (upper set point) |
How a Two-Stage Humidity Controller Works
A two-stage humidity controller (Inkbird IHC-200 is the standard home choice at $30–50) has two outlets and a sensor probe. Lower outlet: plug in your ultrasonic humidifier and set it to activate when RH drops below your minimum (e.g., 85%). Upper outlet: plug in your exhaust fan and set it to activate when RH exceeds your maximum (e.g., 93%). The controller reads the probe and oscillates between these setpoints automatically — when RH drops, the humidifier runs; when RH peaks, the fan runs (which simultaneously provides fresh air exchange). One device solves two of the three fruiting variables simultaneously.
Always use an ultrasonic (cool mist) humidifier, not a warm mist or steam humidifier. Warm mist humidifiers raise the ambient temperature of your fruiting chamber, which can push cold-water species (blue oyster, shiitake) above their optimal fruiting range and increase contamination pressure. Ultrasonic units produce cold fine mist without heat. This distinction matters significantly for cold-fruiting species.
Sanitation & Contamination Prevention
What sanitation products should I use and at what concentrations?
Sanitation Product Reference
| Product | Use Case | Correct Concentration | What NOT to Use It For |
|---|---|---|---|
| Isopropyl alcohol (IPA) | Wiping jar exteriors, SAB surfaces, work areas, needle flame-wipe | 70% — not 90%+ | Never on substrate, colonized material, or near open flame without extinguishing first |
| Effectant disinfectant | Fruiting chamber interior, grow space surfaces, equipment between cycles | Per label (typically 1–2% solution) | Safe for grow surfaces; don't apply to active colonization or fruiting blocks |
| Bleach solution | General work surface cleaning, equipment disinfection between grows | 1:10 bleach-to-water | NEVER on substrate — residual chlorine kills mycelium; rinse all equipment thoroughly before substrate contact |
| Hydrogen peroxide (H₂O₂) | Supplementary treatment for contamination-resistant substrate preparation; some agar work | 3% concentration (standard pharmacy grade) | Not a substrate sterilant — reduces contamination load but does not sterilize |
Why 70% IPA Outperforms 90%+
This is one of the most consistently misunderstood purchasing decisions in the hobby. 90% and 99% isopropyl alcohol evaporate within 2–3 seconds of application — before they can diffuse through microbial cell walls and complete the kill. At 70%, the water component reduces evaporation rate, giving the alcohol a full 10–30 seconds of contact time. This contact time is what kills fungi and bacteria effectively. Buy 70% — not 91%, not 99%.
Sanitation Checklist Before Inoculation
- Wipe all jar exteriors with 70% IPA before placing in SAB or flow hood
- Wipe SAB or flow hood interior with 70% IPA; wait 5–10 minutes before beginning work
- Wipe syringe body (not needle tip — use flame) with 70% IPA
- Flame-sterilize needle until glowing; allow 10–15 seconds cooling before each jar
- Wear nitrile gloves (not latex); wipe gloved hands with 70% IPA
- Face away from work area when exhaling; do not talk during inoculation
Growing Containers — Types & Reuse
Can I reuse growing containers and bags for multiple cultivation cycles?
| Container Type | Reusable? | Cycles | Cleaning Protocol |
|---|---|---|---|
| Glass mason jars | Yes — indefinitely | Unlimited if undamaged | Hot soapy water + rinse thoroughly + dry; replace lids if bent or scratched; inspect for chips before sterilizing |
| PP mushroom grow bags | Yes — limited | 3–5 cycles | Inspect for pinholes (hold to light); rinse, dry completely; re-sterilize with next batch; discard if punctured or deformed |
| Polypropylene monotub (Sterilite, Iris) | Yes — many cycles | 20+ with proper care | Scrub with warm soapy water; wipe with 70% IPA between each grow; inspect interior for scratches that harbor contamination |
| HDPE/LDPE standard plastic bags | No | 1 use only | Cannot survive pressure cooker temperatures; discard after use |
| Plastic grow trays | Yes — limited | 5–10 cycles | Scrub thoroughly; wipe with IPA; replace if cloudy, scratched, or shows contamination staining |
Microscopic surface scratches in plastic containers create protected spaces where contamination organisms can survive IPA wiping — the alcohol can't penetrate into the scratch groove. This is why heavily scratched monotubs produce higher contamination rates over time. Inspect plastic containers regularly: if the interior shows a network of fine scratches or is no longer smooth to touch, replace it. Glass doesn't have this problem because it doesn't scratch easily and can be sterilized at full pressure cooker temperatures.
Monitoring Tools — Hygrometer, Thermometer & More
What should I look for in a hygrometer and thermometer, and what other monitoring tools are useful?
Hygrometer Purchasing Guide
- Accuracy: ±2°F / ±3% RH minimum — cheaper units with ±5°F / ±5% RH accuracy are inadequate; a reading of 85% could be 80% actual, pushing your chamber below the fruiting threshold without your knowledge
- Combo unit (temperature + humidity in one display): adequate for most setups; no need to buy separate devices
- Min/max memory: records the highest and lowest readings since last reset; essential if you can't check your chamber daily — overnight temperature drops are a common undetected cause of poor pinning
- Data logger (USB or Bluetooth): records continuous readings over time; worth the $20–40 upgrade if you're troubleshooting persistent problems; lets you see exactly when and how much conditions drifted
- Placement: position at the level of your fruiting blocks — not at ceiling height where RH reads 3–5% higher than the actual growing zone
Where to Source Monitoring Tools
Optional Advanced Tools
| Tool | Cost | What It Does | When It's Worth It |
|---|---|---|---|
| CO₂ meter | $50–150 | Measures CO₂ concentration in ppm in your fruiting space | When you have persistent leggy stems despite visible FAE; confirms whether CO₂ accumulation is the actual cause |
| Infrared thermometer | $15–30 | Non-contact surface temperature readings | Checking block surface temperature quickly without opening the chamber; useful for Martha tent management |
| pH meter | $20–60 | Measures substrate or water pH | When using lime pasteurization (confirm pH 12+) or troubleshooting substrate preparation consistency |
| Refractometer | $20–40 | Measures sugar concentration in liquid culture | Liquid culture production — verifies nutrient concentration is in the correct range |
Harvest Tools & Storage Supplies
What tools do I need for harvesting mushrooms and storing them properly?
Harvest Tool Reference
| Tool | Use | Notes |
|---|---|---|
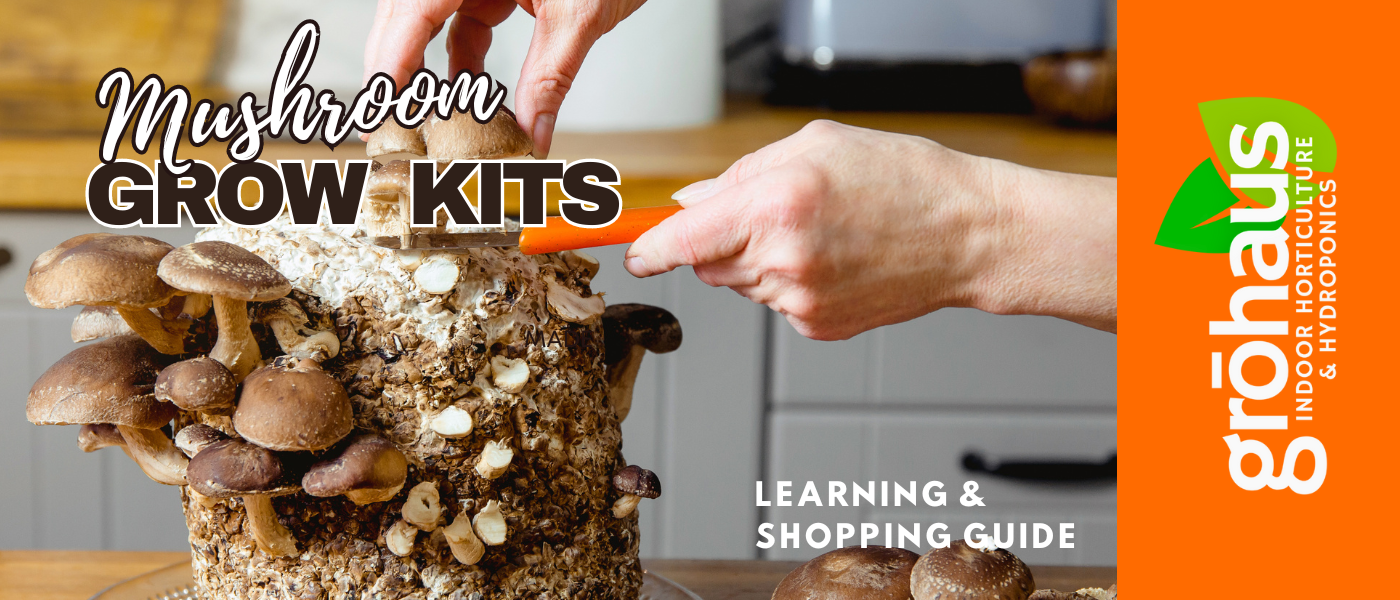
| Sharp scissors or spring-loaded trim scissors | Cutting mushroom clusters at base | Clean cut minimizes stub debris; spring-loaded reduces hand fatigue during large harvests |
| Sharp knife (clean, sterile) | Cutting individual mushrooms for species that benefit from cutting vs. twisting | Flame-sterilize or wipe with 70% IPA between flushes |
| Soft bristle brush | Removing substrate debris from harvested mushrooms before storage | Never wash mushrooms before storing; dry brush only |
| Paper bags | Refrigerator storage | Standard for all fresh mushroom storage — allows gas exchange; prevents condensation buildup that causes rapid sliminess with plastic bags |
| Food dehydrator | Preservation for excess harvest | Temperature-controlled dehydrator at 95–115°F produces properly dried mushrooms (under 10% moisture) that store 2–5 years vacuum-sealed |
| Jeweler's loupe or hand lens (10–30x) | Inspecting veil and gill development before harvest | Essential for species where pre-veil-break harvest is important (button, crimini, portobello); visible veil development tells you whether to harvest today or wait 24 hours |
When to Use a Loupe for Harvest Timing
For gilled mushrooms with a partial veil (the thin membrane connecting the cap edge to the stem — button mushrooms, crimini, portobello), harvesting before the veil tears prevents spore release. A loupe lets you see the veil clearly without touching or disturbing the mushroom. When the veil is still tight and opaque, you have another 12–48 hours. When the veil begins to show tearing or the cap edge is starting to roll upward, harvest within the day. Oyster mushrooms and lion's mane have no veil — harvest timing is based on cap edge curl (still curled under = harvest now; edges flattening = getting late).
What Not to Use for Mushroom Storage
- Sealed plastic bags: create a humid, oxygen-depleted microenvironment that accelerates decay; fresh mushrooms respire and produce CO₂ and moisture after harvest
- Airtight plastic containers: same problem as sealed bags — condensation builds up and mushrooms go slimy within 24–48 hours
- Washing before storage: wet mushrooms spoil 2–3x faster than dry mushrooms; brush off substrate debris dry; wash only immediately before cooking
Supplies & Tools — Quick-Reference FAQ
Do I need a pressure cooker or can I use a regular pot?
For grain spawn and supplemented sawdust blocks: a pressure cooker rated to 15 PSI is required — there is no adequate alternative. Bacterial endospores survive boiling (100°C) but die at 121°C/250°F, which only a pressure cooker at 15 PSI can achieve. For low-nutrition substrates (straw, CVG): a regular pot, large bucket with hot water, or cold water lime pasteurization all work without a pressure cooker. The method required depends on substrate nutrition level, not personal preference.
Why should I use 70% isopropyl instead of 90% or 99%?
70% isopropyl kills microorganisms more effectively than higher concentrations because the water in the 70% solution slows evaporation, giving the alcohol sufficient contact time to penetrate and disrupt cell walls. At 90%+ concentrations, the alcohol evaporates in 2–3 seconds — before it can complete the kill. This is well-documented microbiology: 70% IPA is the standard for hospital surface disinfection. Buy 70% and avoid the counterintuitive impulse to buy the "stronger" 91% or 99%.
What is the difference between a pressure cooker and a pressure canner?
Pressure canners are designed for home food canning and are rated to 10–11 PSI under USDA standards. Mushroom substrate sterilization requires 15 PSI to reach 121°C / 250°F. A pressure canner operating at its design pressure cannot reliably achieve the temperature needed to kill bacterial endospores in grain or supplemented substrates. Always verify the PSI rating on any pressure cooking equipment before purchasing for mushroom cultivation — look for 15 PSI explicitly stated in the specifications.
What polypropylene bags should I buy and can I reuse them?
Buy mushroom grow bags labeled as polypropylene (PP) or "autoclave safe" — 5–6 mil thickness, 0.2–0.5 micron filter patch, wide-mouth opening. Never use standard HDPE or LDPE household plastic bags — they deform and melt under pressure cooker temperatures. PP mushroom grow bags can be reused 3–5 times if inspected for pinholes before each use (hold to a light source and check for pinpoint transparency). Discard any bag with visible holes, deformation, or opacity changes.
Do I need a humidity controller or can I just mist manually?
Manual misting works adequately for a single monotub or small SGFC that you check 2–3 times daily. For a Martha tent with multiple blocks, manual misting 20+ blocks consistently enough to maintain 85–95% RH is impractical — humidity fluctuations between mistings cause aborted pins and inconsistent flushes. A two-stage humidity controller (Inkbird IHC-200, $30–50) paired with an ultrasonic humidifier is the correct upgrade for Martha tent grows — it automates the most critical fruiting variable and simultaneously provides FAE when the fan outlet activates.
Can I reuse plastic grow bags for multiple grows?
Polypropylene (PP) mushroom grow bags designed for autoclave use can be reused 3–5 cycles if they're intact — inspect each bag by holding to a light source to check for pinholes before reuse. Standard household plastic bags (HDPE, LDPE, zip bags) cannot be reused — they deform at pressure cooker temperatures and should be discarded after one use. Glass mason jars are indefinitely reusable with proper cleaning. Polypropylene monotub totes can be reused for many cycles with thorough cleaning between grows — replace when interior shows significant scratching.
Shop Mushroom Growing Tools & Supplies
Pressure sterilizers, hygrometers, PP grow bags, humidity controllers, ultrasonic humidifiers, still air box supplies, and every tool you need from inoculation through harvest.